Help Center • Landlords • Account & Settings
Update account settings
Manage your profile, notifications, automation rules, and payment preferences in one place.
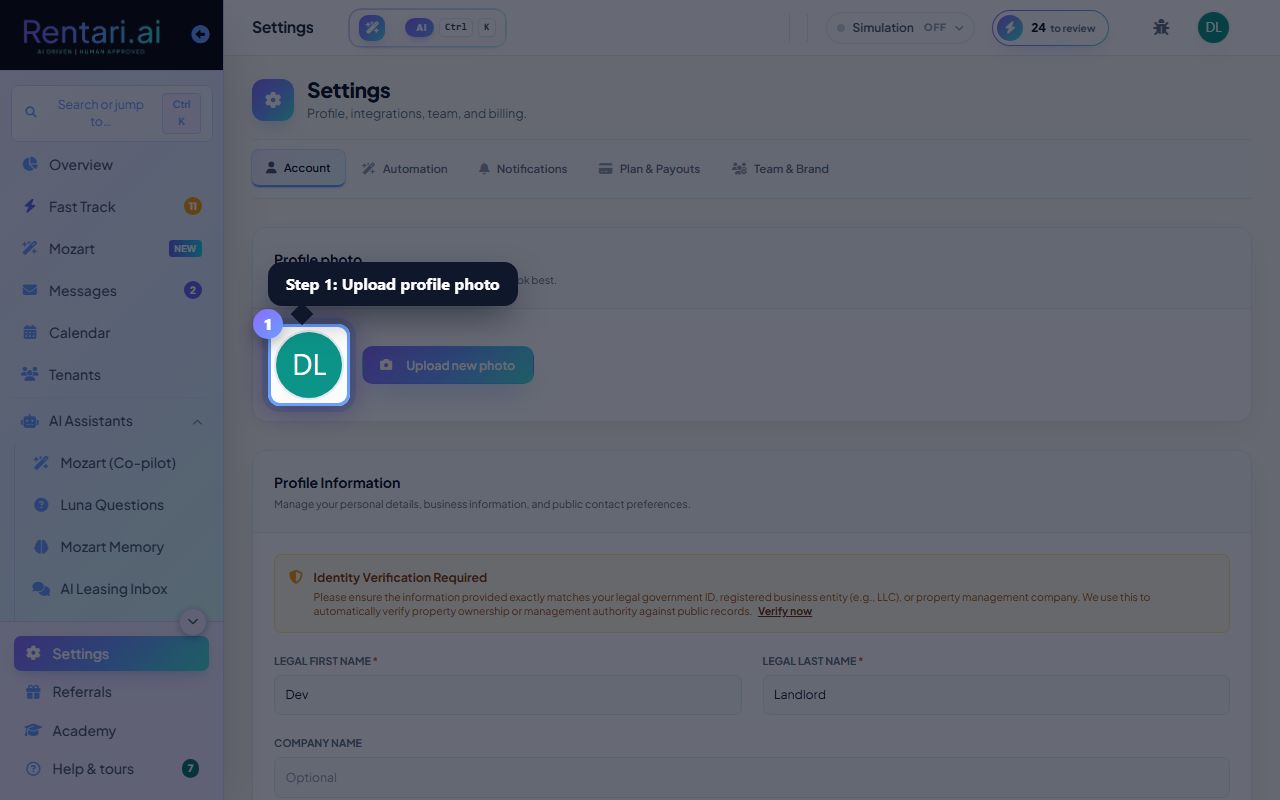
Upload and manage your profile photo
Action: Click the 'Account' tab (first tab). Under 'Profile photo', you'll see your current avatar. Click 'Upload new photo' to choose a PNG, JPG, or WEBP file up to 25MB. The system will crop it to a square. To remove your photo, click 'Remove' if you've set one.
Square images look best in the avatar. A professional headshot or company logo works well. Once you upload, other users will see your photo in team lists and chat headers.
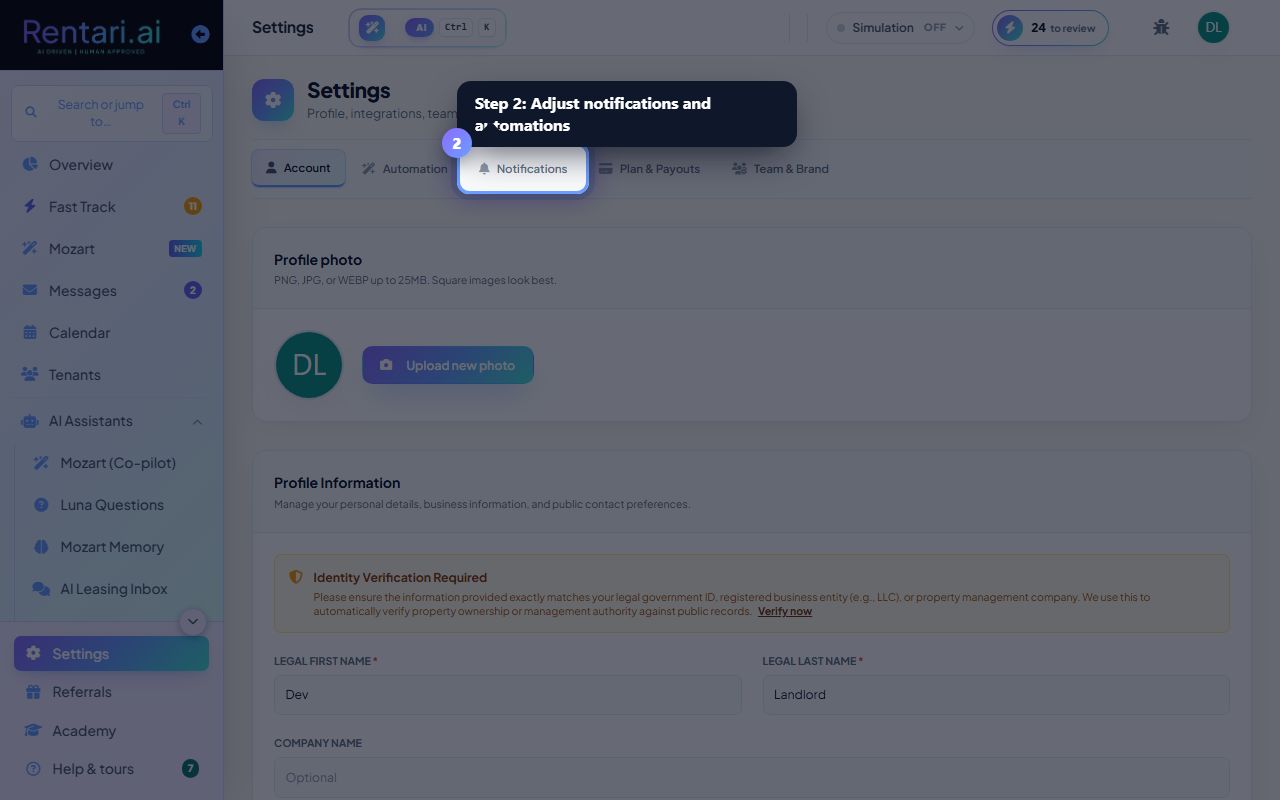
Adjust notifications and automations
Action: Click the 'Notifications' tab to pick which events trigger email or in-app alerts (overdue rent, maintenance requests, lease signings). Click the 'Automation' tab to set up rules like 'auto-forward rent reminders on the 25th' or 'draft overdue notices when rent is past due'.
Notification preferences are personal to you. If you have a team, each member can set their own. Automation rules apply to the whole portfolio, so change them only if you're the portfolio owner.
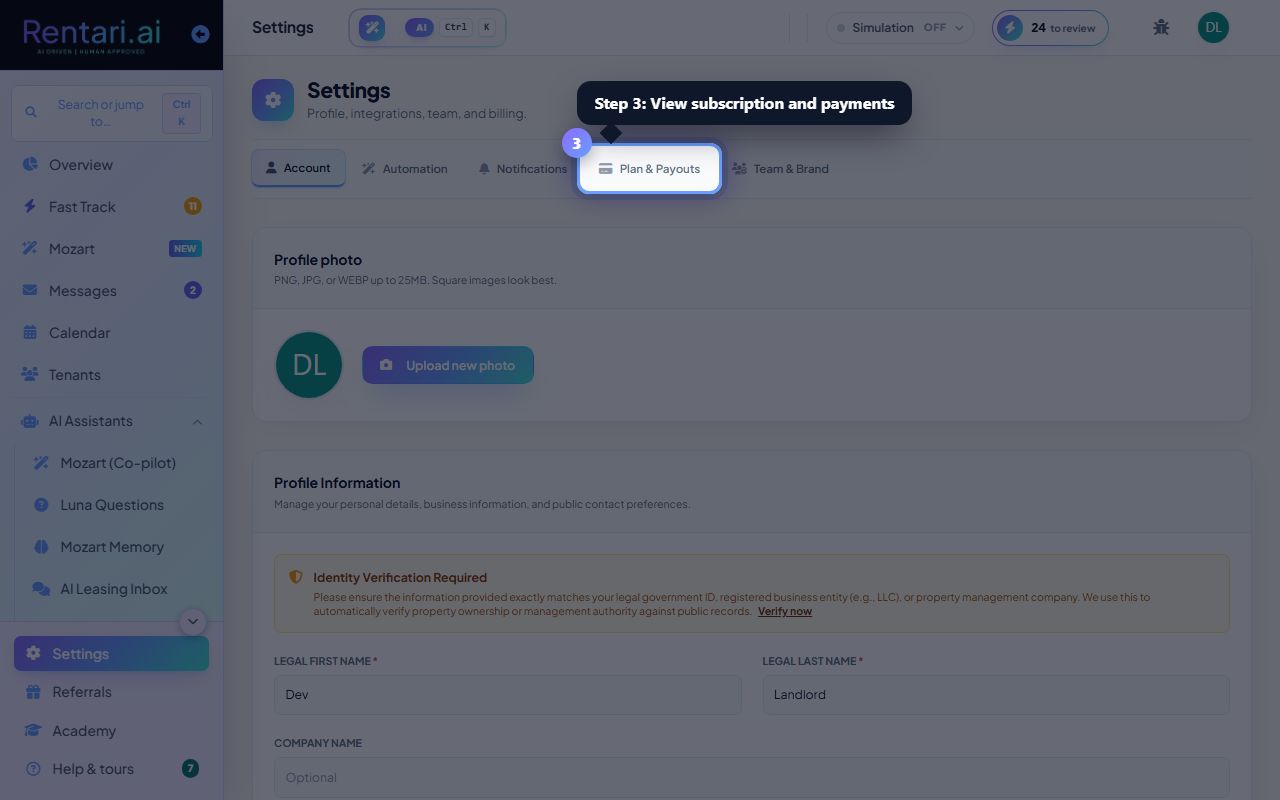
View and manage your subscription
Action: Click the 'Plan & Payouts' tab to see your current plan (Free, Prime, Max Mode, or Scale), billing cycle, and when it renews. Click 'Update payment method' to go to the Stripe billing portal if your card failed. Click 'View invoices' to download past billing statements.
Your plan tier unlocks features like AI screening, unlimited e-leases, and financial reports. You can cancel or upgrade anytime without penalty.