Help Center • Landlords • Portfolio
Set up by-the-bed leasing for student housing
Break a unit into individually priced beds for roommate scenarios, track occupancy per bed, and see total per-bed rent vs whole-unit rent.
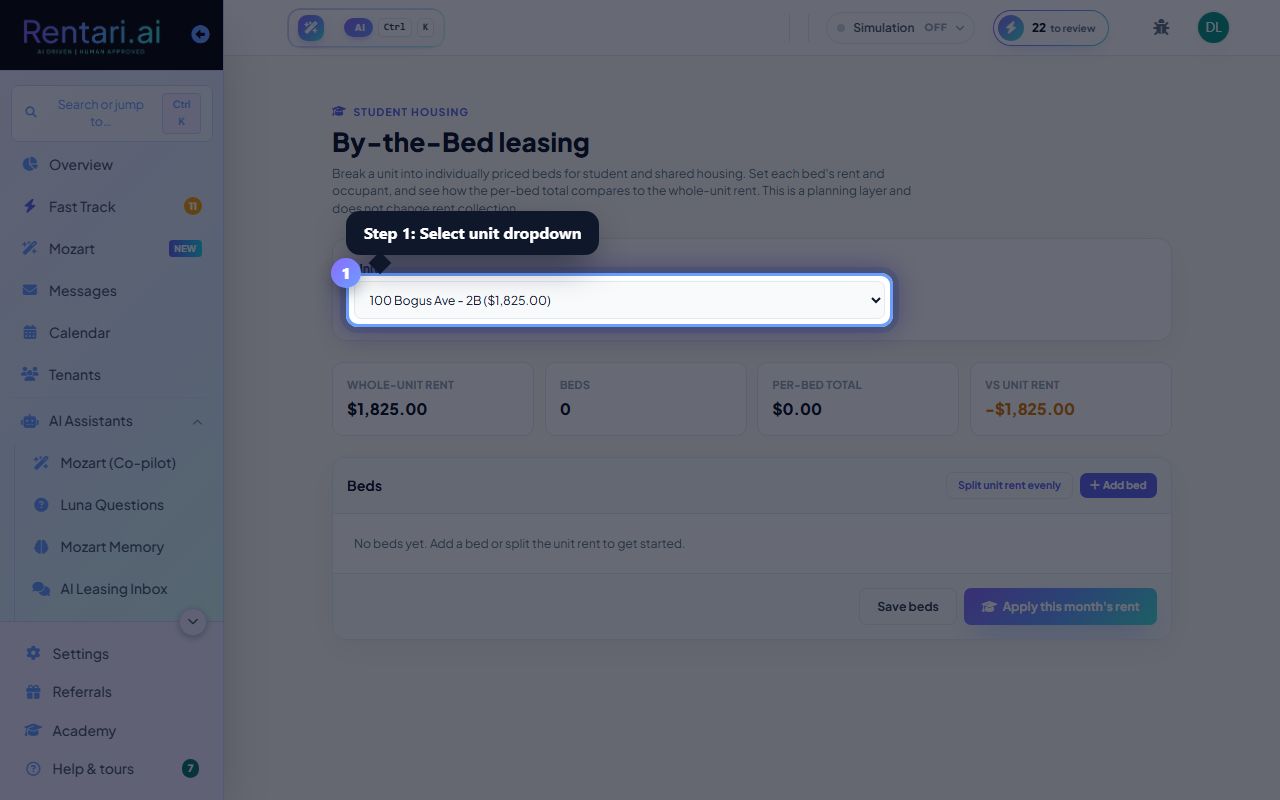
Select a unit and review bed layout
Action: Use the Unit dropdown to choose a property and unit. Summary cards display the whole-unit rent, number of beds, per-bed total rent, and the delta (how much total beds exceed or fall short of the whole-unit rent).
The delta is positive (green) if per-bed rent exceeds unit rent (higher revenue), negative (amber) if it falls short, or neutral (zero difference).
Add individual beds
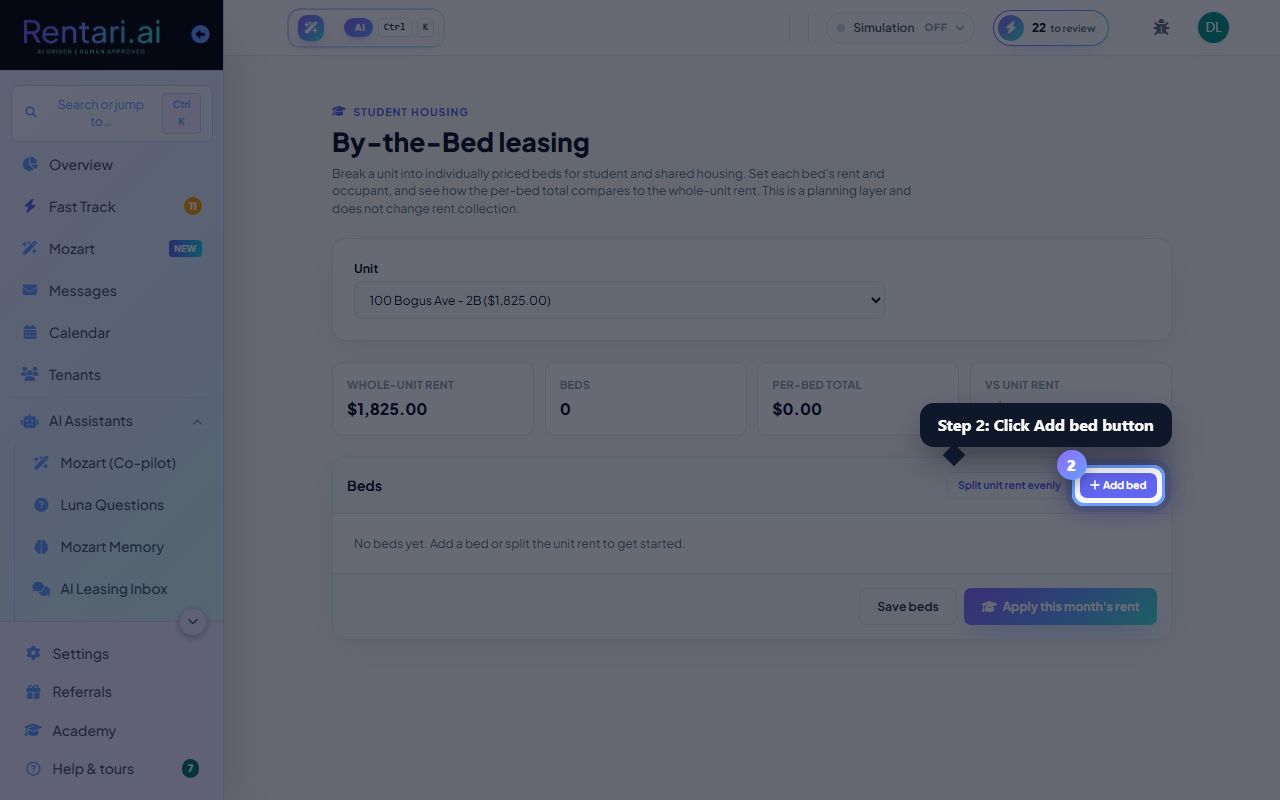
Action: Click Add bed to create a new row. Enter a bed label (e.g. Master, Bedroom 2), rent amount, occupant name (optional), and status (Available or Leased). To divide rent evenly across all beds, click Split unit rent evenly and the calculator will split the whole-unit rent by bed count.
Only beds marked Leased are billed when you apply rent. Use Available for beds still marketing or unoccupied.
Apply monthly rent and save
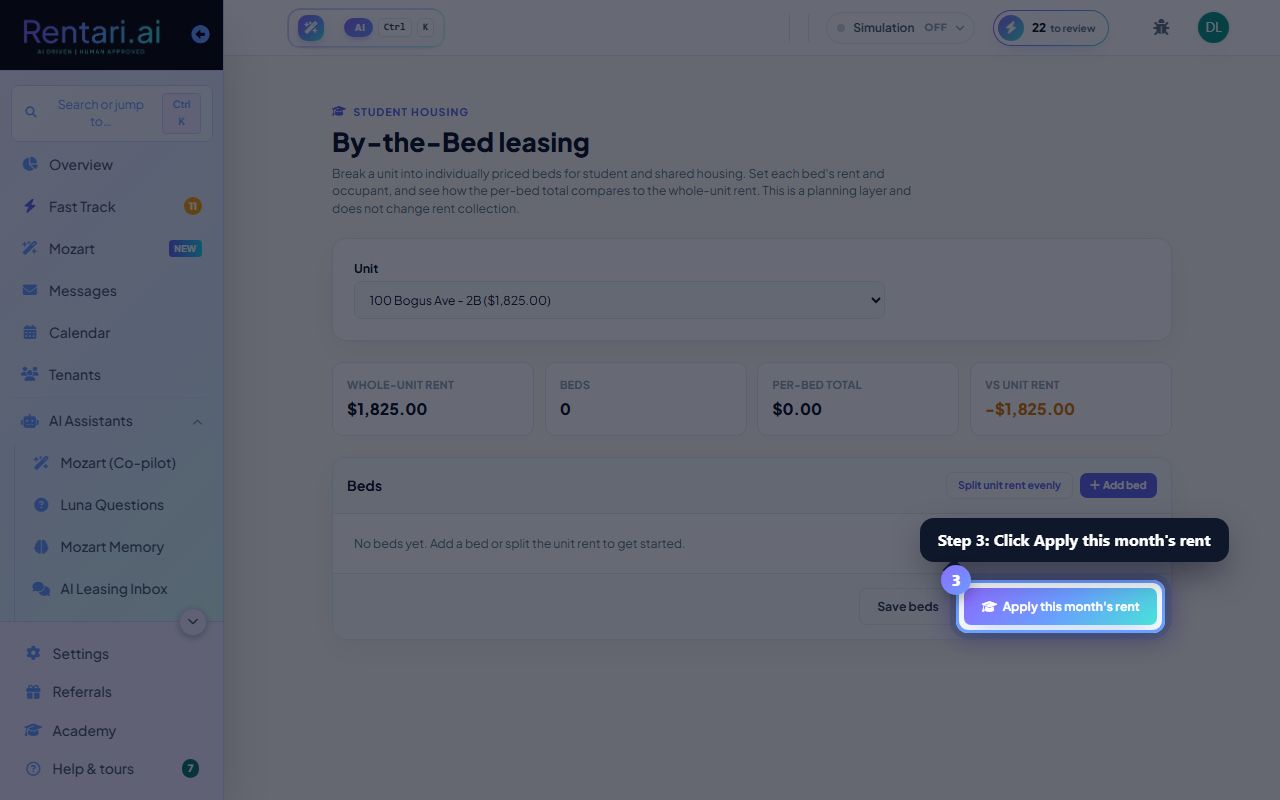
Action: Click Save beds to store your bed list. Then click Apply this month's rent to bill every leased bed. A confirmation shows how many beds were billed and the total amount posted.
This is a planning layer today and does not change the whole-unit rent collection. When you apply rent, each leased bed posts a separate ledger entry so you can see per-bed occupancy and revenue in your accounting.