Help Center • Getting Started
Complete Fast Track onboarding
Guided 5-step checklist to set up your first property, invite tenants, and start collecting rent.
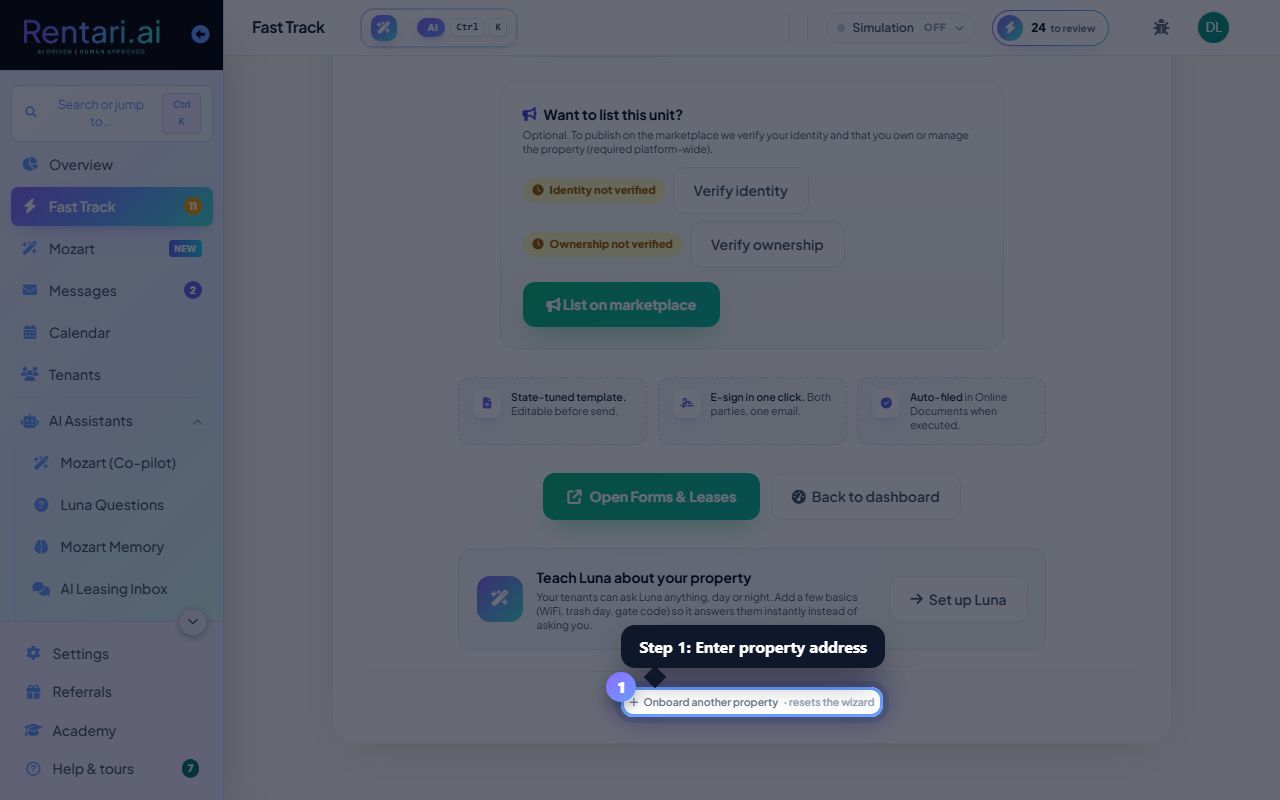
Add your first property
Action: Step 1 shows a form to enter your property address, unit count, and rent amount. Use Google Places autocomplete to fill the address. The system will suggest a security deposit cap for your state (advisory only). Click 'Next' to continue.
Make sure the address matches the lease. If you have multiple units in one building, add the address once per unit so each one tracks rent separately.
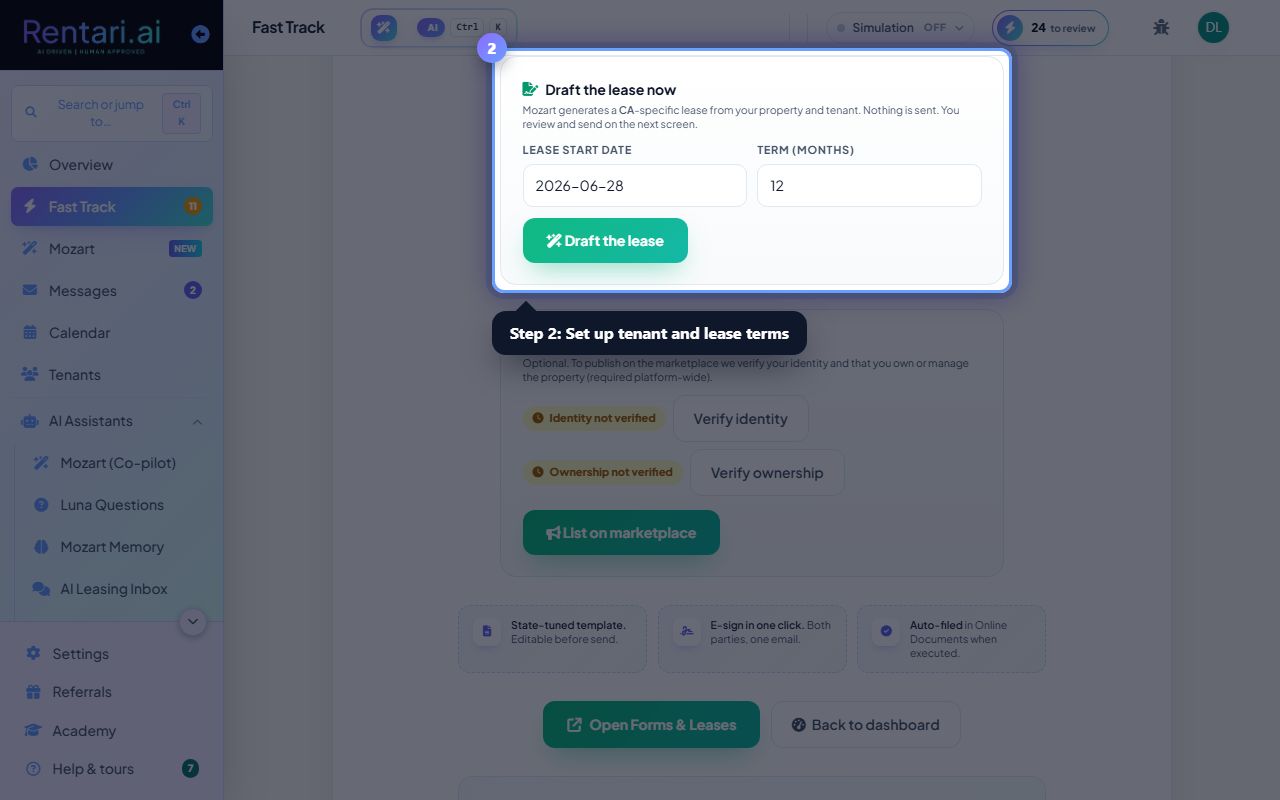
Invite your tenant and set lease terms
Action: Steps 2-4 let you pick an applicant (or skip), choose a screening package, and set payment terms. Fill in the tenant email, lease start date, and rent amount. Select 'Annual income' or 'Monthly net' for verification. Click through each step using 'Next' and 'Back'.
If you skip the screening step, you can screen an applicant later. All these choices can be edited after setup is done from the main dashboard.
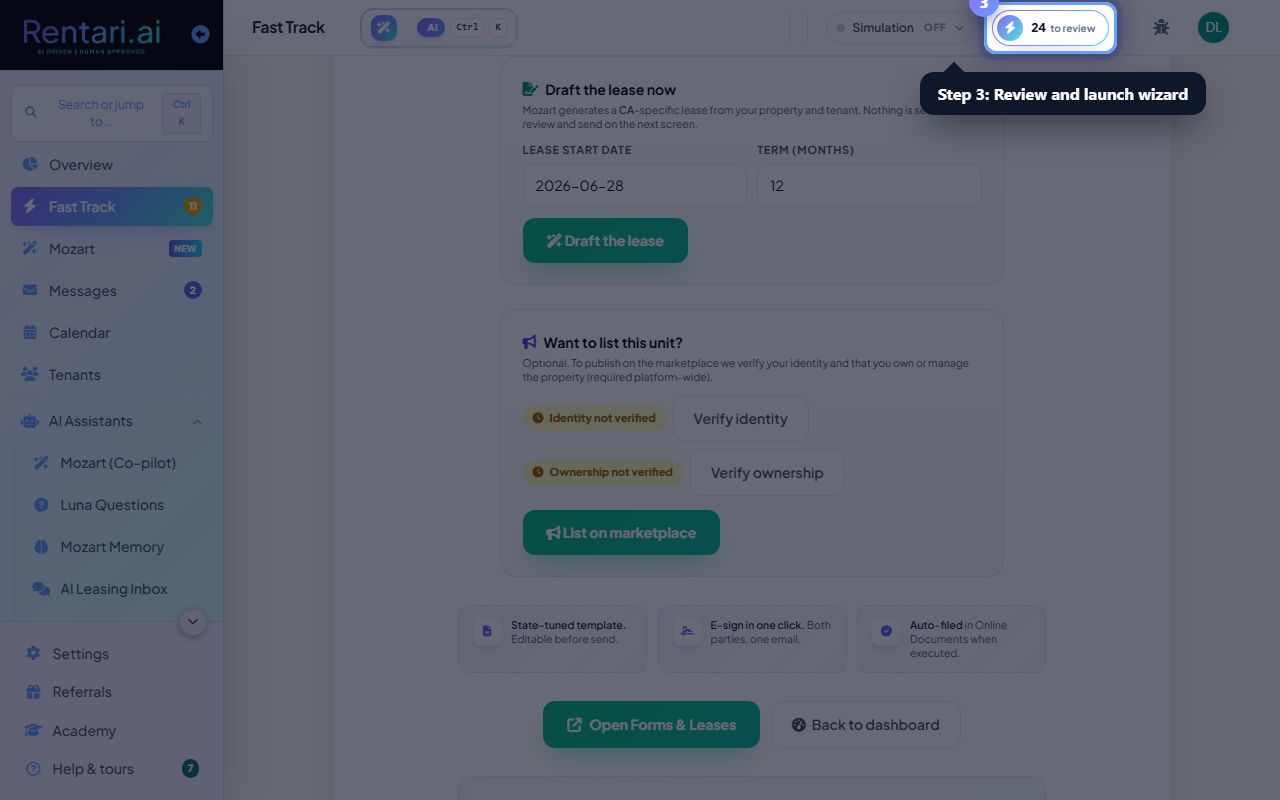
Review and launch
Action: Step 5 shows a recap card of your choices. Check that property, tenant, rent, and lease terms are correct. Click 'Open Document Studio' to sign the lease, or 'Back to dashboard' to save and finish later. Use the 'Reset' button in the top right if you need to start over.
The wizard saves your progress as you go. You can leave and come back anytime. Once you send the lease, your tenant can sign in their own portal.